
cladding installation guide
Cladding Instillation guide
Product Overview
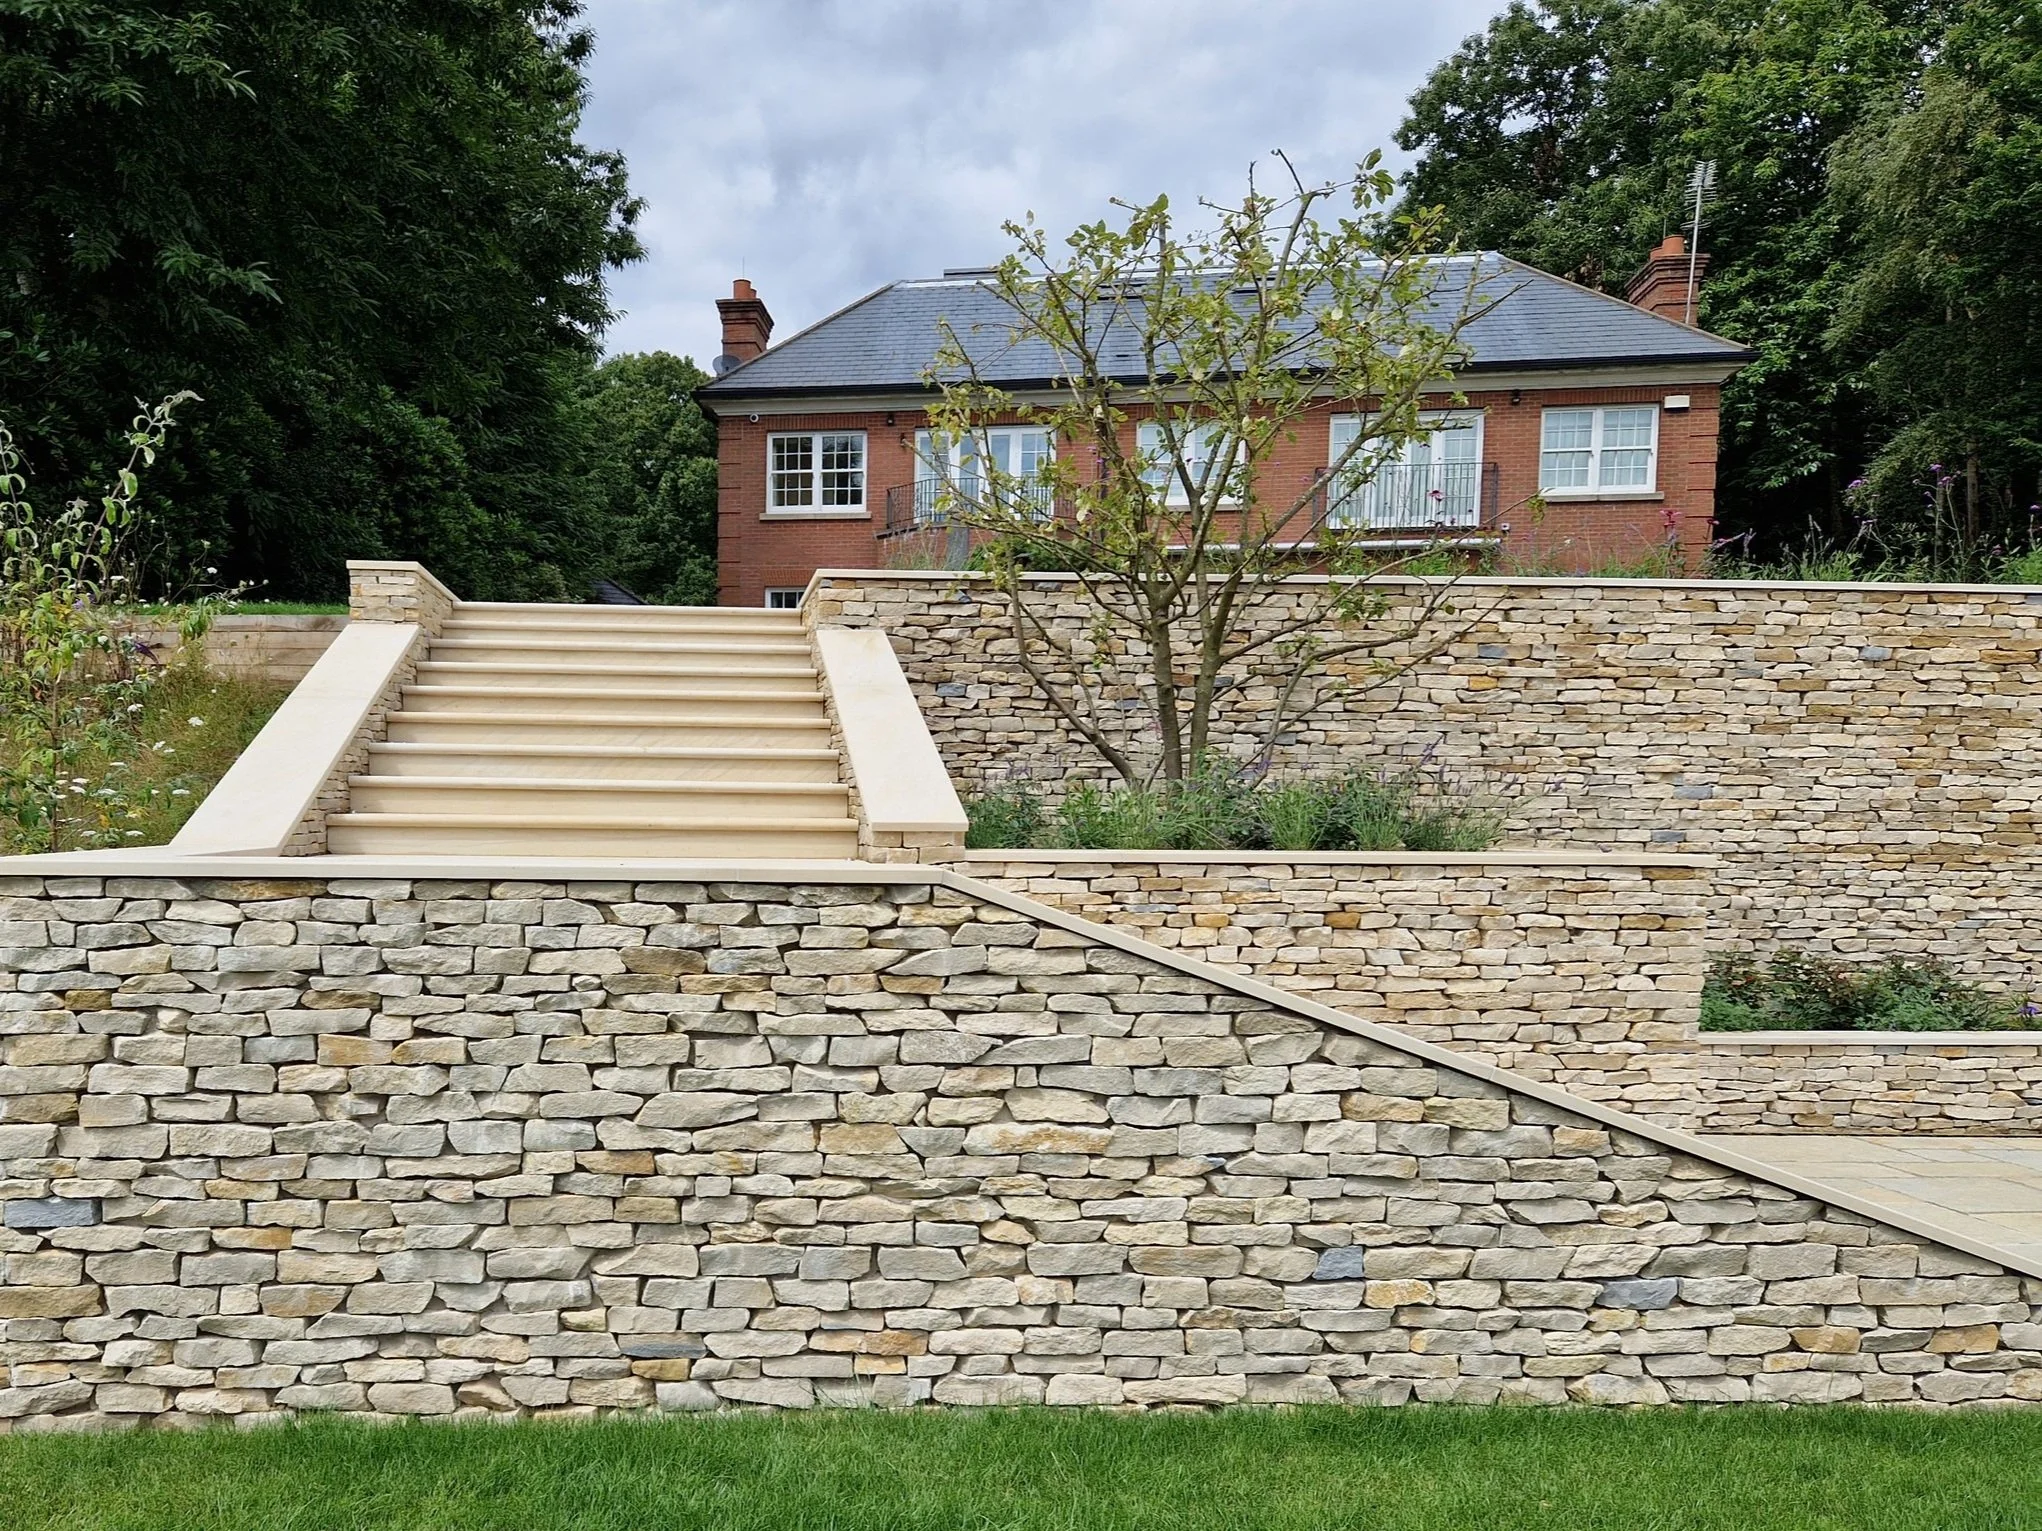
Cladding is a 100% natural stone cladding system, cut to 30-40mm thickness to give the exact look of “full thickness” stone. Suitable for interior and exterior projects, lightweight and easy to install, saving you valuable time, space and money.
Estimating Materials
Cladding
To estimate the number of flats you need simply multiply the height x width of the area to be covered. Then subtract any openings such as doors and windows. This is the total surface area for which you will need flat stone. Cladding is sold per sq.m (m2).
Corner Cladding
To estimate how many corners you will need simply measure the vertical external corners i.e. the window and door lintels & jambs that will require corner stone. Please note that it is advisable to allow some extra time & 10 % wastage for cutting and trimming. Corner Cladding is sold by the metre.
Mortar
We recommend Ardex Adhesive X7G Plus for most applications, which has significantly less powder required per sq.m compared to traditional adhesives & Ardex Adhesive X32 for installations in Pools & Water Features. To determine the quantity of adhesive needed, allow one 25kg bag per 3 sq.m of cladding stone. Multiply the total linear length of corners by 0.2 to give you additional bags required for corner stone. Please note additional adhesive may be required depending on the stone type and quantity.
Preparation of the surface
New Block Surfaces
It is recommended to apply a PVA & water primer for new block surfaces. We would recommend applying a scratch coat with a water sealer for chimney stacks to minimise water penetration.
Existing Surfaces
Existing plastered or dashed surfaces must be cleaned back to its original surface by sandblasting, water blasting, acid etching or wire brushing. Alternatively a metal lath could be attached using corrosive resistant concrete nails with a scratch coat applied over the metal lath.
Uneven / Rough Surfaces
For any uneven or rough surface, it is recommended to apply a scratch coat mortar render to level the surface.
Installation
Step 1 - Pre Application
Before applying, lay out a min of 2m2 in front of your application area to give yourself a sense for the variety of shapes and colours. Arrange the pieces so they fit and look complimentary next to one another. Try to avoid grouping colours together in the one area.
Step 2 - Install Corners First
Start at the corners and work towards the centre of the wall. Be sure to alternate long and short returns on corner pieces. Take a clean stone and slightly dampen the back, this will remove any dirt and will prevent moisture loss from mortar. Apply adhesive to the wall surface with a 10mm notched trowel covering 0.5m2 at a time starting from a chosen lowest corner of the area first. Apply a coat of adhesive approx 10mm to the sawn face of the cladding and corners. Press the stone onto the wall rotating slightly to force some of the adhesive to squeeze out slightly. Any surplus adhesive around the cladding or corner should be removed before the adhesive is allowed to set. Joints can be varied in size according to style but should be consistent. Make sure stones follow a consistent & pre-selected laying style. Cut and trim the stones if you need particular size stones to fill the gaps.
Step 3 - Pointing
Treatment & Cleaning Organic Stone Cladding joints can either be left open for a traditional drystone look or filled with a sand cement mortar for a mortared style. Let the grout dry until it is firm but not solid. You want to be able to push on it without leaving fingerprints, but don't let the grout dry too much or it will be very difficult to strike. Check each stone is securely bonded and after every 1m2 is completed brush of any surplus adhesive or debris from the face of the stone. For applications below water we recommend that our Pureseal treatment is applied to the stone to protect from frost damage & penetrative organic growth and discolouration. Cleaning of stone cladding is recommended with PureKleen BG for deeply engrained & stubborn organic growth, PureKleen BR for twice annual preventative maintenance or PureKleen SN for the removal of White Salt Discolouration. Data sheets are available for these products or additional specialist products for specific stain removal.
Love your Cladding! Step back at the end of each day and take pride in what you have done.